Beading para Principiantes: 5 Técnicas Essenciais para Dominar com o Seu Primeiro Kit de Contas

By Little Words Project | Published: 2026-07-17
Category: Guias Práticos
Novo na criação de bijuteria? Aprenda 5 técnicas essenciais de enfiamento para principiantes com um tutorial de kit de contas. Domine a arte de enfiar contas com confiança e crie pulseiras de palavras bonitas.
Starting your beading journey is exciting, but knowing where to begin can feel overwhelming. Whether you've just unboxed your first bead kit or you're browsing for the perfect starter set, mastering a few foundational techniques will set you up for success. In this bead kit tutorial, we'll walk through five essential beading techniques for beginners that will help you create beautiful, lasting jewelry pieces.
From securing knots to designing balanced patterns, these beginner jewelry making skills apply to everything from simple stretch bracelets to more complex custom creations. With practice, you'll be able to transform loose beads into meaningful accessories that tell your story. Let's dive into the techniques every new beader should learn.
1. Mastering the Basic Knot: The Foundation of All Beading
Every jewelry maker needs to know how to tie a secure knot. For stretch bracelets, the surgeon's knot is your best friend. This double-loop knot grips tightly and won't slip over time, keeping your beads in place. To tie it, cross the two ends of the elastic cord, loop one end through twice (instead of once), and pull firmly. Practice on a spare piece of cord before working on your actual bracelet.
For non-stretch materials like cotton or waxed cord, a simple overhand knot with a dab of jewelry glue adds extra security. Always test your knot by tugging gently before trimming the tails. Mastering this technique ensures your creations stay intact through daily wear.
- Use a surgeon's knot for elastic cord: wrap twice for extra grip.
- Apply a tiny drop of clear jewelry glue to the knot for added security.
2. Bead Stringing: Getting the Order Right
Stringing beads seems simple, but the order you choose affects both the look and function of your bracelet. When working with a bead kit, lay out your beads in the desired pattern before threading. This helps you visualize the final design and catch any spacing issues early. For word bracelets, thread letter beads in sequence, checking that each letter faces the same direction.
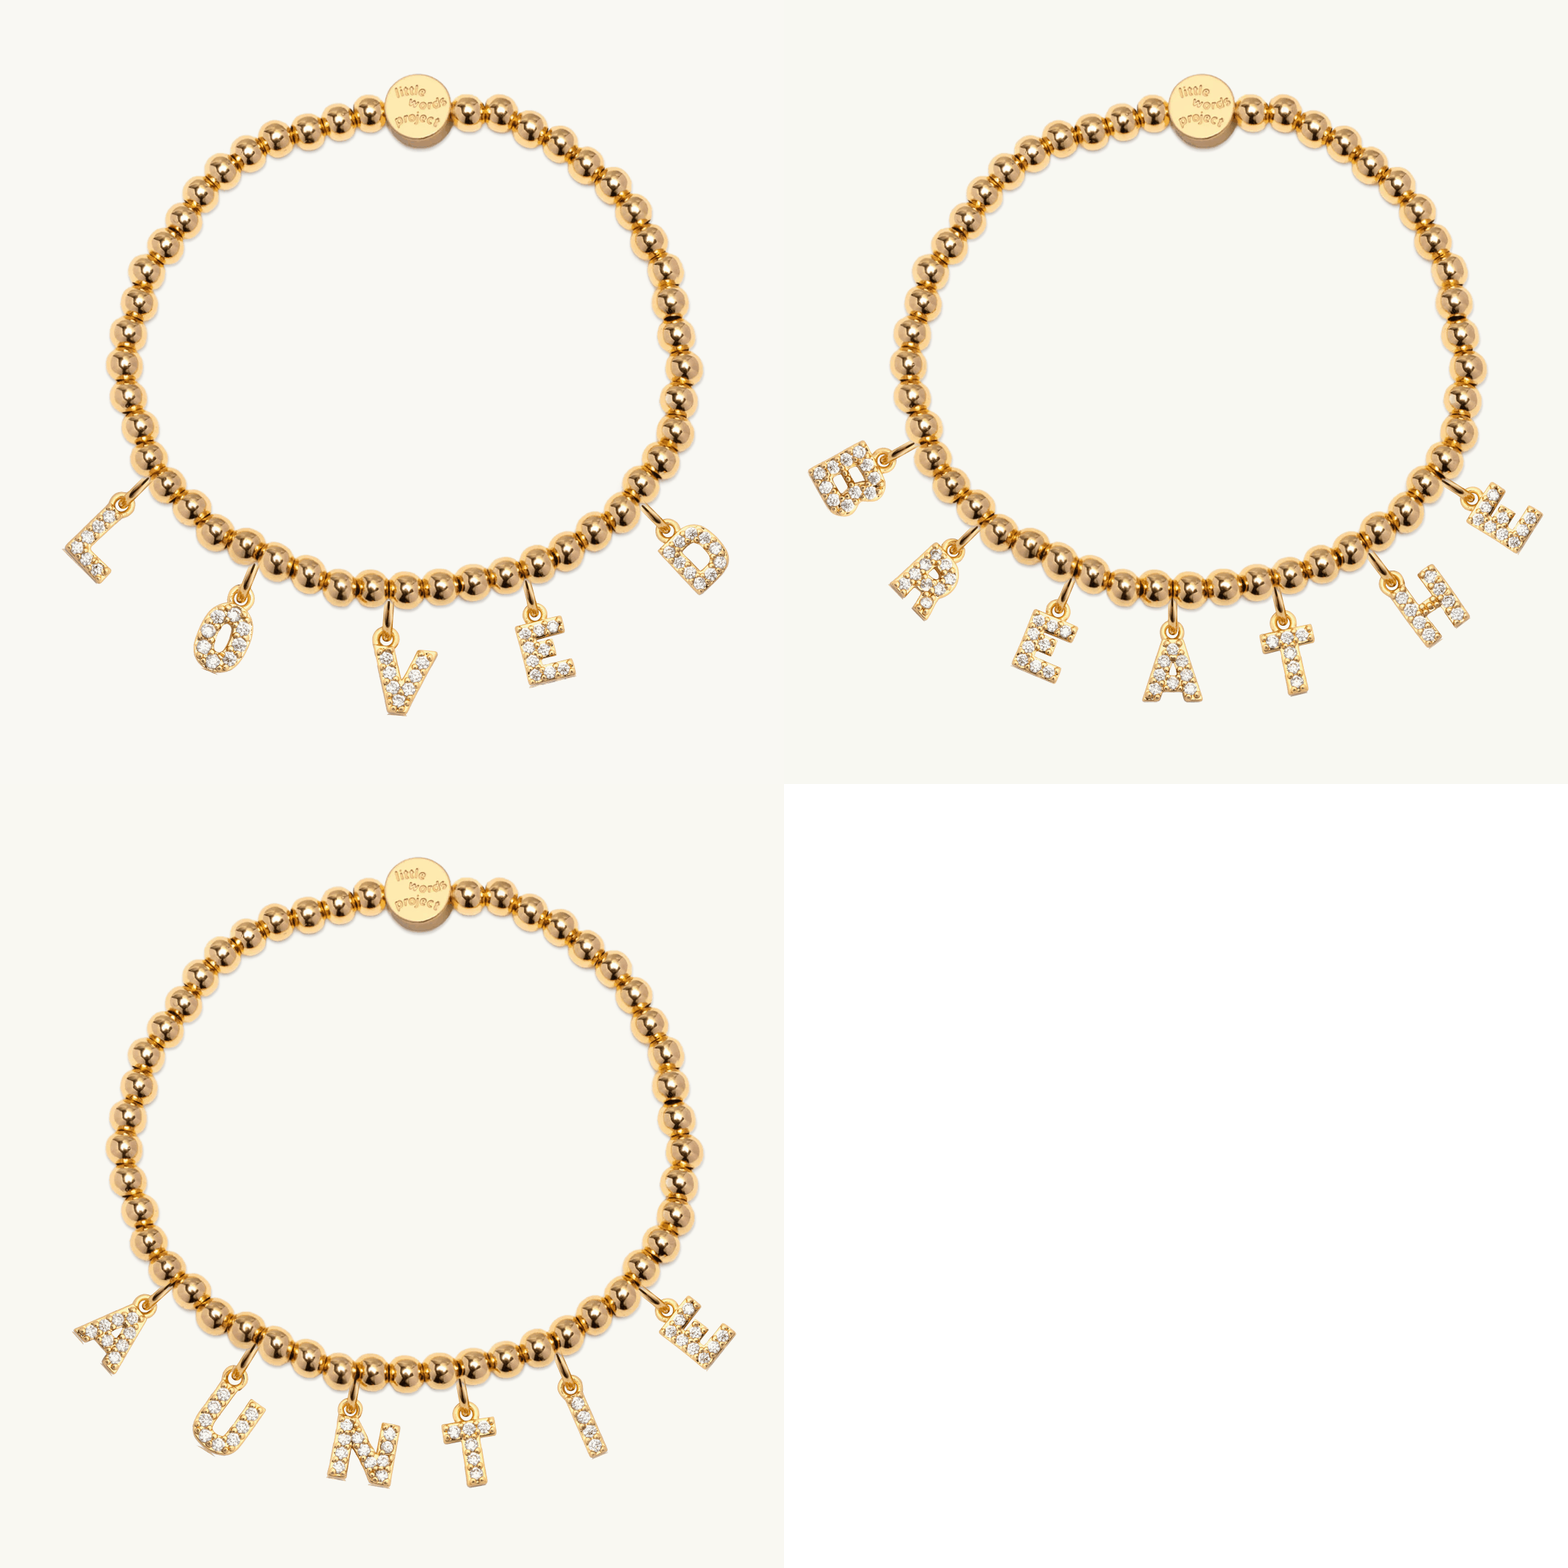
Use a bead mat or a flat surface to prevent beads from rolling away. If you're adding spacers or charms, plan their placement to create visual breaks. The Custom Devoted Bracelet Set is a great example of how thoughtful bead arrangement can create a cohesive, meaningful design. Take your time and adjust the pattern until it feels balanced.

- Lay out your full bead pattern before stringing to avoid mistakes.
- Use a bead mat to keep beads from rolling off your work surface.
3. Adding Charms: How to Incorporate Personalized Elements
Charms add personality and meaning to your bracelets. Learning to attach them correctly is key. For most bead kits, charms come with a small jump ring or loop. Open the ring gently with two pairs of pliers (or your fingernails if the ring is thin), slide it onto the cord between two beads, and close it securely. Avoid pulling the ring open sideways, which weakens the metal.
Place charms where they won't interfere with the bracelet's drape. For example, a sunflower charm adds a cheerful touch near the center or clasp. Charms like the Custom Ballet Slippers Charm work beautifully as a focal point. Experiment with placement to see what looks best on your wrist.
- Open jump rings by twisting them sideways, not pulling apart.
- Position charms where they hang naturally without flipping over.
4. Creating Consistent Tension for Even Beading
Consistent tension is one of the most overlooked beading techniques for beginners. If you pull the cord too tight, your bracelet will be stiff and uncomfortable. Too loose, and beads will slide around. Aim for a snug fit where beads touch but don't compress the cord. Practice on a short section before committing to a full bracelet.
As you string beads, hold the cord gently between your thumb and forefinger. Let the beads settle naturally without forcing them. For stretch bracelets, leave just enough slack to slide the bracelet over your hand without stretching the cord excessively. This balance ensures your jewelry feels comfortable and lasts longer.
- Check tension frequently by holding the bracelet in a curve against your wrist.
- If beads feel too tight, remove one or two to loosen the fit.
5. Finishing Strong: Securing Ends and Adding Clasps
A beautiful bracelet deserves a secure finish. For stretch bracelets, tie your knot, apply glue, and gently tuck the knot inside a bead. For bracelets with clasps, use crimp beads or knot covers to hide the connection. Crimp beads are small metal tubes that you flatten with pliers to hold the cord in place. Practice on a scrap piece first.
For a polished look, consider adding a small charm over the knot area. The Glimmer- June Word of the Month charm can serve as both a decorative and functional cover. Test the clasp or closure by gently tugging before wearing. A secure finish gives you confidence that your handmade piece will stay beautiful through everyday adventures.
- Hide knots inside a bead with a larger hole for a clean look.
- Always test the clasp or closure before gifting or wearing your bracelet.
With these five essential beading techniques, you're ready to turn your first bead kit into a stunning piece of wearable art. Start with a simple pattern, practice your knots, and don't be afraid to add a personal charm. The more you bead, the more your skills will grow. Explore our collection of bead kits and charms to begin your jewelry making journey today.